As your child enters into the challenging subject of science during the middle school-aged years, you may be looking for interesting and engaging project based learning ideas for middle school science to do. And science can be a difficult topic to keep kids interested in sometimes, I know it.
Project-based learning (PBL) is a great way to make science fun and engaging! PBL is a hands-on teaching approach in which students learn by working on projects that solve real-world problems.
With these 13 science project ideas, you can also make project-based learning lesson plans with the extension activities provided for each one. Let’s jump in so you can start making science an enjoyable experience for everyone!

Disclaimer: This blog post may contain affiliate links for your convenience.
Quick Navigation
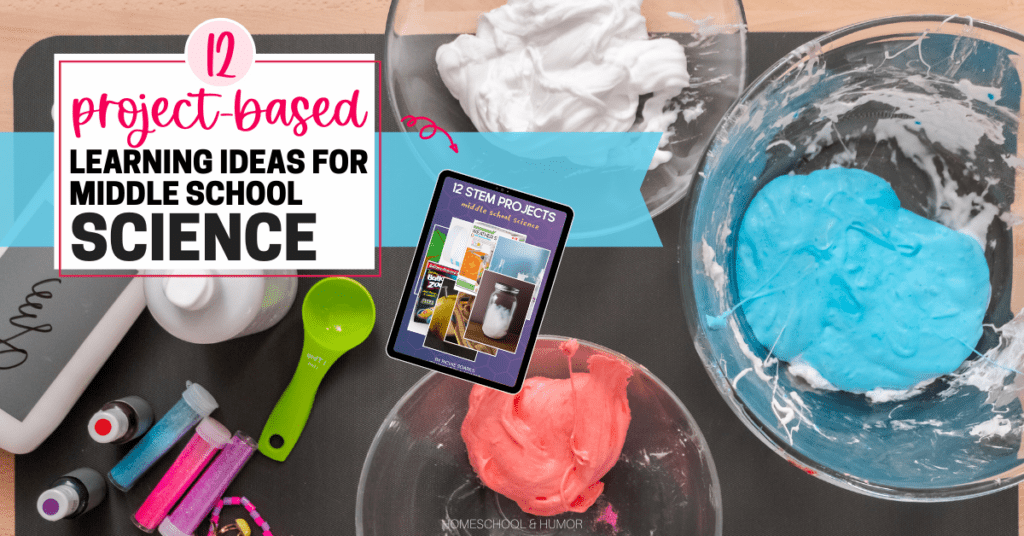
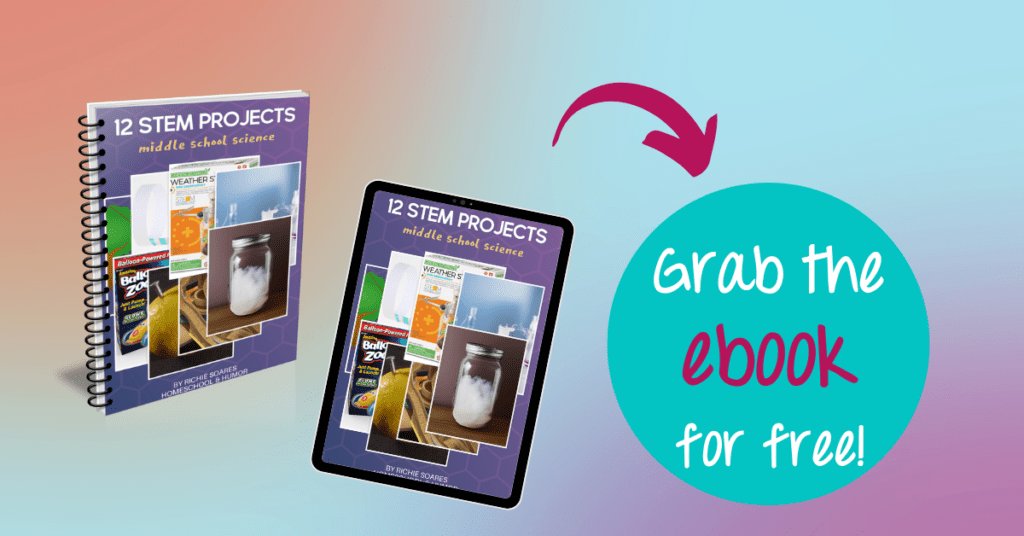
Download the free ebook!
Download this ebook and take with you all the STEM projects you see here, along with the science lesson for each one and the extension activities!
Why Make Project Based Learning Science Lesson Plans Part of Your Homeschooling?
As we homeschool, I’m always looking for new ways to make learning more hands-on and engaging, especially when it comes to science. I think critical thinking and problem solving skills are so important starting when they’re really little. I love project-based learning activities because it allows kids to explore their creativity while they learn real world issues during their science education.
And it doesn’t matter what grade level your kids are, either – all kids will gain key skills in a fun way learning these real-world challenges by determining complex problems and finding their correct answers through the PBL model of learning!
My son recently did a project in a content area of the water cycle that involved building a model of the Earth out of LEGOs. Not only did he learn about the different stages of the water cycle, but he also got to use his imagination to create his own version of the planet.
STEM can churn great ideas for project-based learning resources and turn them into awesome activities, similar to unit studies. Going with our current example, my son could have easily adapted this project-based learning activity for Earth Day for this steam education.
It would have been the perfect way to learn a bit about science concepts through several science education: life sciences, physical science, social studies, period of time, real-world application, problem-based learning, and maybe even endangered species if we studied the time periods of the earth!
It’s moments like these that make me glad we homeschool. We may not have all the resources of a traditional school, but we can design our own learning experiences that are tailored to our children’s interests and needs!
Here are 13 project-based learning examples to get you started!
Make A Paper Glider
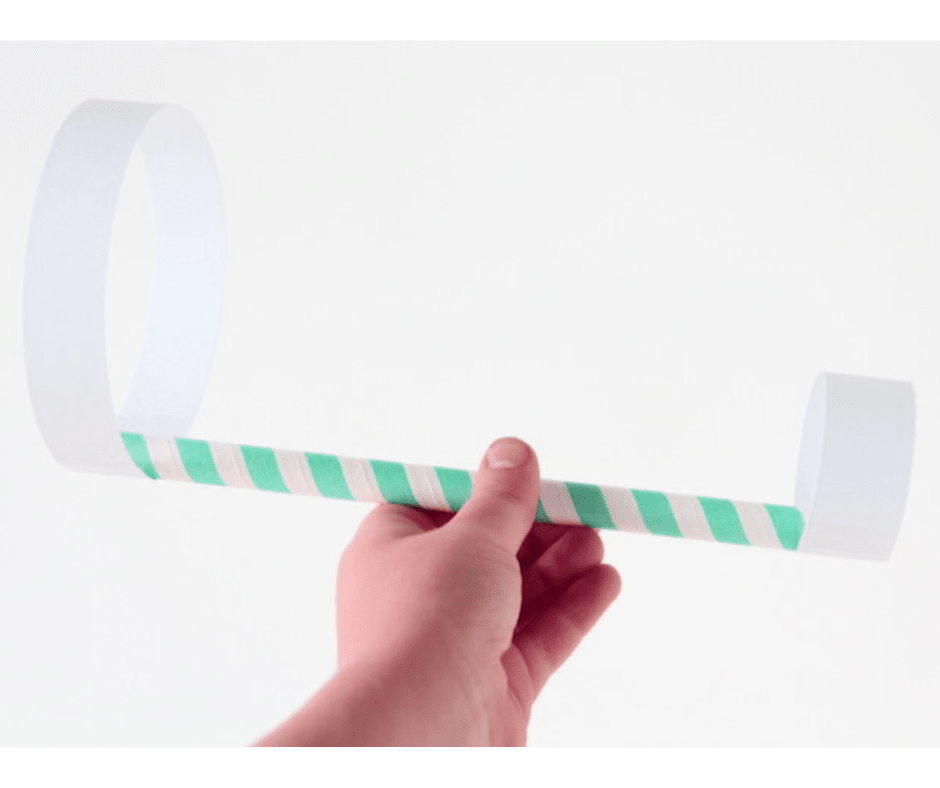
Use a straw and an index card to make a flying machine that will glide farther than a paper airplane. This is a quick and inexpensive way to study the principles of flight with your kids.
You need:
- 1 paper (preferably card stock, legal size)
- scissors
- 1 straight straw
- tape
Instructions:
- Cut your paper or card stock long ways, making at least 2 strips. You can make as many strips out of this as you want because you don’t need to waste the other strips. So you’ll likely get about 5 or 6 stripes, each strip about 1 inch wide.
- Take one of your strips and cut it in half to make a shorter strip.
- Now take your long strip and make a circle and tape it together. Do the same with the small strip, making a circle with it, and then tape the circle closed/together.
- Put the straw inside the circles as shown in the picture. Straw needs to be on the same side of each circle and taped within the circles (not outside of them).
- Launch your glider and see how far it will fly!
Science Lesson:
Kids will learn about the Bernoulli principle, which explains how an airplane is able to fly. The plane can fly because the air moving over the top of the wings is moving faster than the air moving underneath the wings. This causes a decrease in air pressure on top of the wing and an increase in air pressure underneath the wing. The difference in air pressure creates lift, which propels the plane forward.
This project is also a great opportunity to talk about Newton’s laws of motion. Newton’s first law states that an object in motion will stay in motion unless acted on by an outside force. The glider will keep moving forward until it encounters friction or gravity, which will eventually bring it to a stop.
Extend the activity: Have kids experiment with different sizes and shapes of gliders to see which one flies the farthest. You can also try launching the glider in different ways to see how that affects its flight. Have kids keep track of their experiments in a journal, documenting what they did and the results of their final product experiments.
Build A Balloon-Powered Car
This is a great activity for kids to learn about how air can be used to power things. It’s also a lot of fun to race the cars against each other!
You need:
- balloons
- straws
- index cards or construction paper
- scissors
- tape
- a toy car (hotwheels or legos, anything)
Instructions:
- Cut your construction paper or index cards into strips that are about 1 inch wide and 3 inches long. You’ll need 4 strips for each car.
- Tape two of the strips together at one end to form a “V” shape. This will be the back of your car.
- Tape the other two strips together at one end to form a second “V” shape. This will be the front of your car.
- Tape the two “V” shapes together at the point where the two strips meet in the middle. This will be the body of your car.
- Cut a small slit in the center of the “V” shapes on both the front and back of your car. These slits should be big enough to fit a straw through.
- Feed a straw through the slits on both the front and back of the car.
- Blow up a balloon and tie the end off.
- Tape the balloon to the straw on the back of the car.
- Let go of the balloon and watch your car go!
Science lesson:
Kids will learn about how air pressure can be used to power things. When the balloon is inflated, the air inside exerts a lot of pressure on the walls of the balloon. When the balloon is released, that pressure is released and propels the car forward.
This project is also a great opportunity to talk about friction. Friction is the force that opposes motion. The car will eventually stop because of friction between the wheels and the ground.
Extend the activity:
Try adding weight to the car (a penny or a paperclip) to see if that affects how far it will go. Try making the wheels out of different materials (cardboard, foil, construction paper) to see if that affects how the car moves.
Make A Lava Lamp
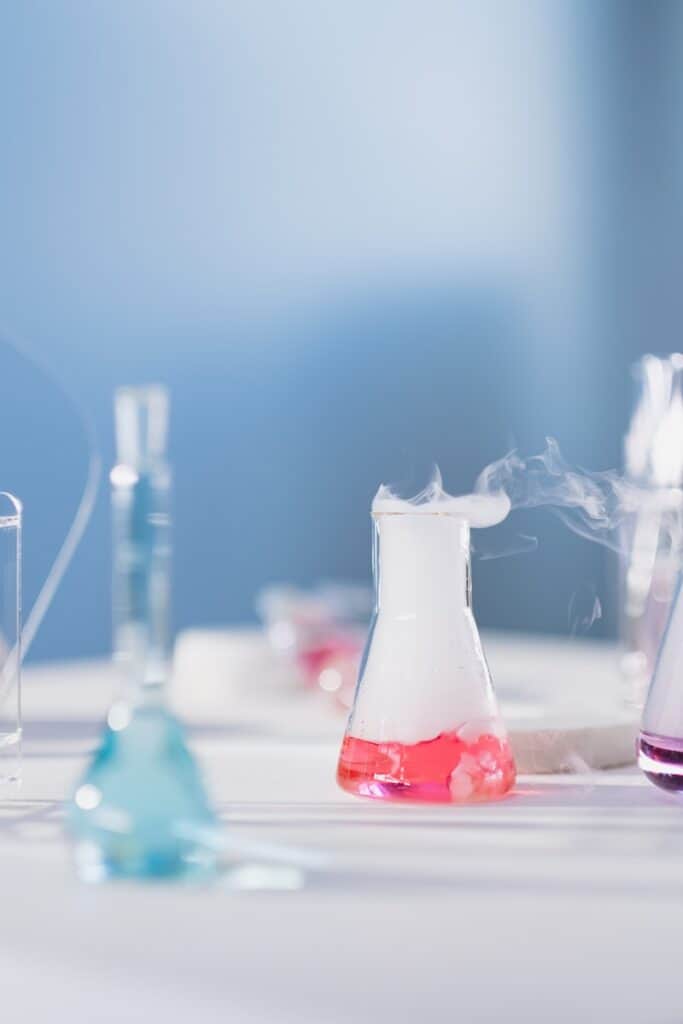
This is a fun project that doubles as a cool science experiment. Kids will love watching the lava “dance” inside the lamp.
You need:
- clear jar or bottle (or a good ol’ chemistry flask)
- 1 cup vegetable oil
- 1/2 cup water
- a few drops of food coloring (any color)
- Alka Seltzer
Instructions:
- Pour the oil in first.
- Pour the water in after the oil. It will sink to the bottom.
- Add a few drops of food coloring – any color you choose. The food coloring is water-based so they’ll also sink to the bottom and turn the water that same color.
- Break apart the Alka Seltzer into pieces.
- Drop the pieces into the jar one at a time.
- Watch your lava erupt! When it starts to fizzle out and slow down, add more Alka Seltzer again.
Science Lesson:
Your kids will learn about density and how it affects the way things float or sink. The oil is less dense than the water, so it floats to the top. The food coloring is also less dense than the water, so it also floats to the top. However, the Alka Seltzer is more dense than both the oil and the water, so it sinks to the bottom.
This project is also a great opportunity to talk about chemical reactions. The Alka Seltzer contains sodium bicarbonate, which reacts with the water and the food coloring to create carbon dioxide gas. This gas is what makes the lava “erupt.”
Polarity is also at play here. The water and the oil don’t mix because they have different polarities. Water is a polar molecule, which means that the electrons are evenly distributed around the molecule. Oil is a non-polar molecule, which means that the electrons are not evenly distributed. This means that the water molecules are attracted to each other, but they’re not attracted to the oil molecules. That’s why the oil floats to the top!
Extend the activity: Try using different colors of food coloring and see how they mix together. You can also experiment with different types of oil to see how that might affect the lava.

Make A Rainbow In A Jar
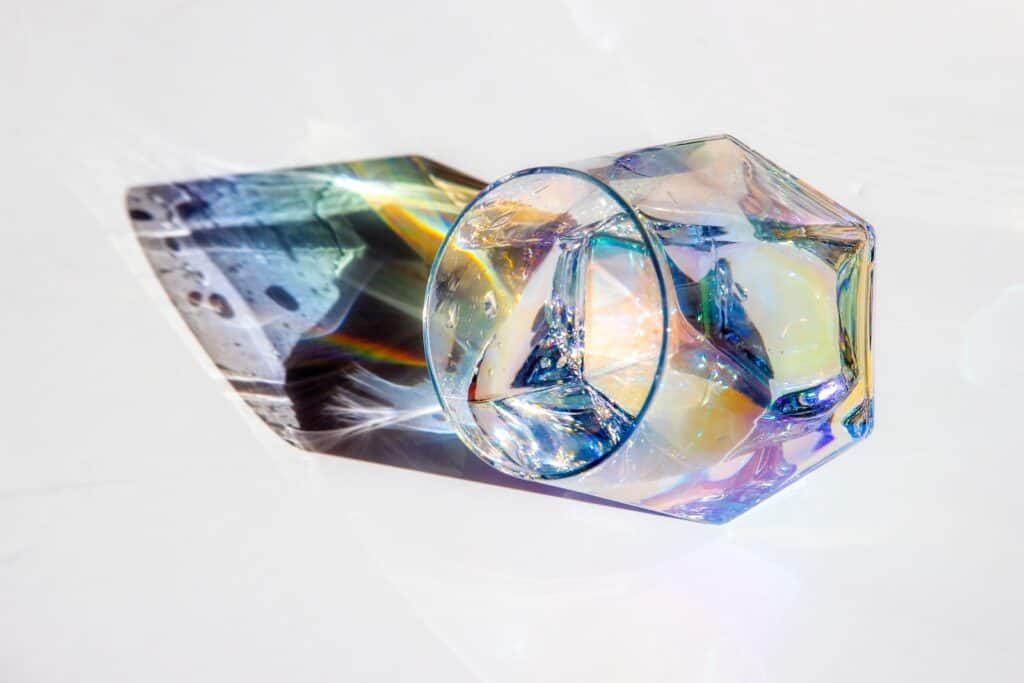
This is a simple project that shows kids how light bends and how different colors combine to make other colors.
You need:
- 1 jar
- 1 clear plastic sheet
- scissors
- 1 flashlight
Instructions:
- Cut the plastic sheet into a strip that is about 2 inches wide and 12 inches long.
- Tape one end of the strip to the inside of the jar.
- Shine the flashlight into the jar and see the rainbow!
Science Lesson:
The colors that you see in the rainbow are actually created by light waves. White light is made up of all the colors of the rainbow combined. When light waves hit an object, they can bounce off (reflection), go through the object (transmission), or be absorbed by the object.
When light waves bounce off of an object, they can change the wavelength (which changes the color). This is why the colors in a rainbow appear to be bent. The different colors have different wavelengths, so they bend at different angles.
Extend the activity: Try shining the flashlight through different objects ( CDs, prisms, glasses of water) to see how they affect the light. You can also experiment with different colors of light (from different flashlights or light bulbs) or try different colors of plastic to see how that affects the rainbow.
Make A Cloud In A Jar
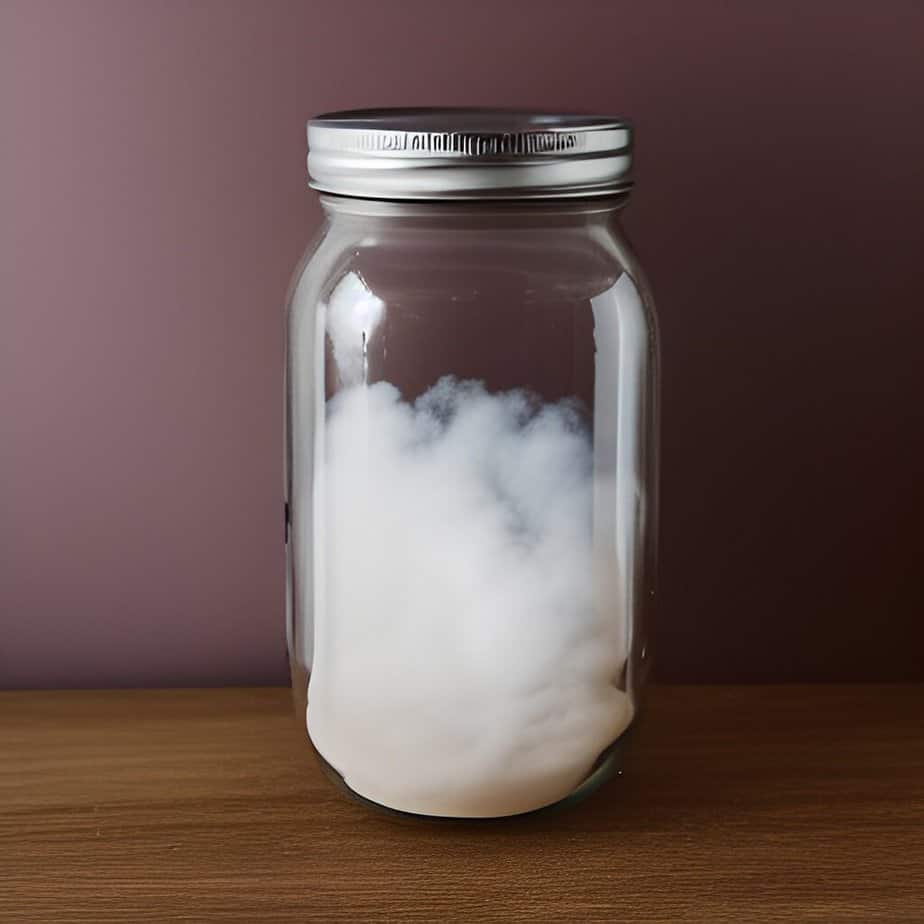
This is a simple project that shows how clouds form. Kids will love seeing the “cloud” form right before their eyes!
You need:
- 1 jar
- 1 cup boiling water
- 1/4 cup cold water
- 1 teaspoon salt
- ice cubes
Instructions:
- Add the boiling water and salt to the jar.
- Add the cold water and stir.
- Add a few ice cubes and watch the cloud form!
Science Lesson:
Clouds are actually made up of tiny water droplets. These droplets form when warm air rises and cools. As the air cools, the water vapor in the air condenses on particles in the air (like dust or pollen). This condensation creates the cloud. This means that clouds form when there is a difference in temperature.
Extend the activity: Try using different temperatures of water to see how that affects the cloud. You can also experiment with different types of salt to see if that changes anything.
Make A Tornado In A Bottle
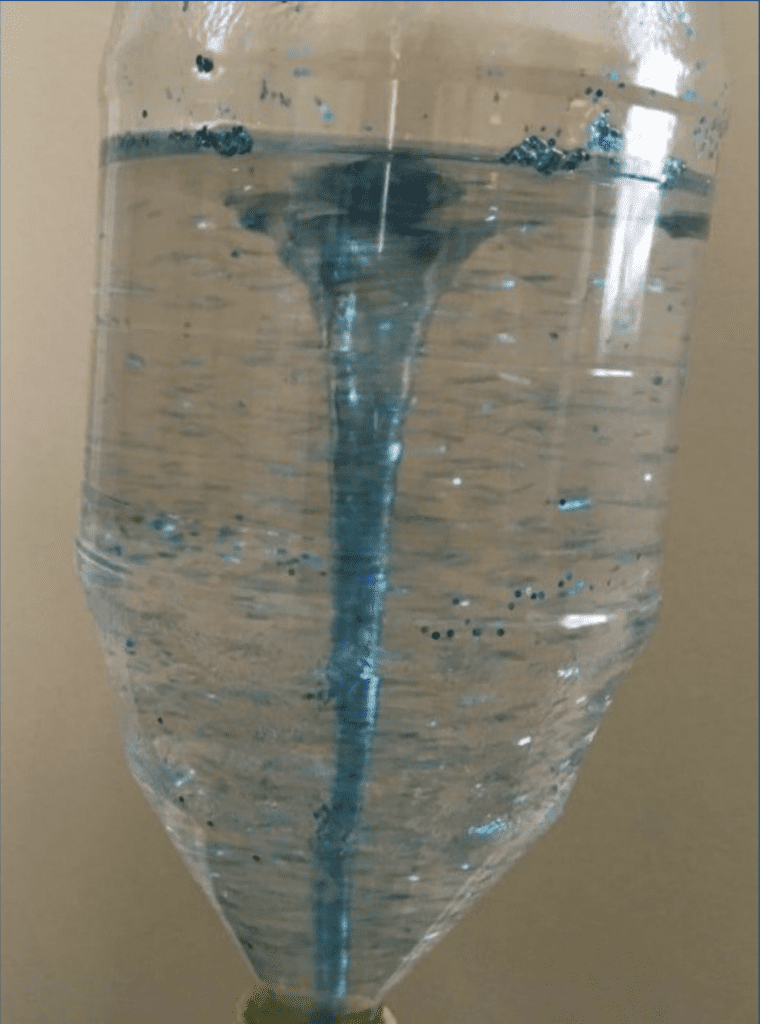
This project is a great way to show kids how tornadoes form. They’ll be amazed at how the “tornado” forms right before their eyes!
You need:
- 2 plastic bottles with lids
- Dish soap
Instructions:
- Fill one of the bottles with water about ¾ of the way full.
- Put squirt of dish soap in. Free free to add food coloring if you want to make it colorful. Or glitter!
- Put the cap on close tightly.
- Move the bottle fast in a circular motion.
- As you twist, the water will start to spin and a “tornado” will form!
- Then stop, and watch it go!
Science Lesson:
Tornadoes form when warm air rises and cool air sinks. This can happen when cold air from the ground meets warm air from the atmosphere. The warm air rises and the cool air sinks, causing the air to spin. As the air spins faster and faster, it forms a tornado.
Extend the activity: Try using different temperatures of water to see how that affects the tornado. You can also experiment with different sizes or shapes of bottles.
Make A Lemon Battery
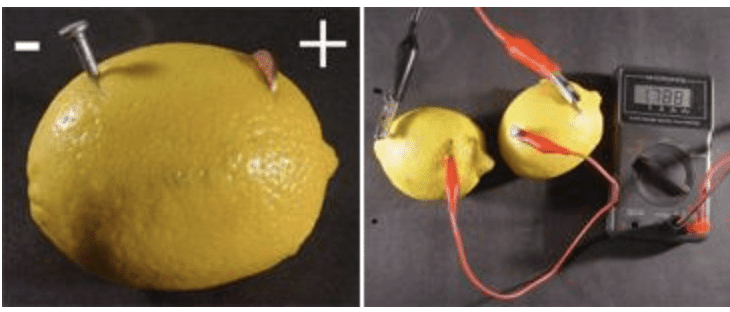
This project is a great way to show kids how batteries work. They’ll be amazed at how the lemon battery can power a small light bulb!
You need:
- 1 lemon
- 2 copper coins
- 2 zinc nails
- 1 small light bulb
- 1 battery holder (optional)
Instructions:
- Insert the copper coins and zinc nails into the lemon. Make sure that they don’t touch each other.
- Connect the light bulb to the copper coin and the zinc nail. If you’re using a battery holder, connect the positive lead to the copper coin and the negative lead to the zinc nail.
- Now, watch the light bulb light up!
Science Lesson:
Batteries work by using a chemical reaction to create an electric current. This electric current is what powers the light bulb. In this experiment, the lemon is used as an electrolyte (a substance that helps to conduct electricity). The copper and zinc act as the electrodes (the parts of the battery that conduct electricity). The chemical reaction between the lemon and the metals creates an electric current, which powers the light bulb.
Extend the activity: Try using different fruits or vegetables as electrolytes. You can also experiment with different metals to see if they work as electrodes.
Create A Weather Station
Track the temperature, wind speed, and precipitation in your area with this project. Once you have your equipment, set it up in a central location outside and check it every day for climate change and other subject areas. Have your kids keep a log of the findings to share and make sure you have a driving question that steers each project in a meaningful way!
You’ll need:
- 1 thermometer
- 1 anemometer (wind speed sensor)
- 1 rain gauge
Instructions:
- Set up the thermometer, anemometer, and rain gauge in a central location outside.
- Check the equipment every day and record your findings in a log. Be sure to note the date, time, and weather conditions.
- Share your findings with your class.
Science Lesson:
Temperature is a measure of how hot or cold something is. It is measured in degrees Fahrenheit (°F) or degrees Celsius (°C). Wind speed is a measure of how fast the wind is blowing. It is measured in miles per hour (mph) or kilometers per hour (kph). Precipitation is any form of water that falls from the sky, including rain, snow, sleet, and hail. It is measured in inches or centimeters.
Extend the activity: Try tracking other weather conditions like humidity or pressure. You can also experiment with different ways of displaying your data, such as creating a graph or chart.
Design A Roller Coaster
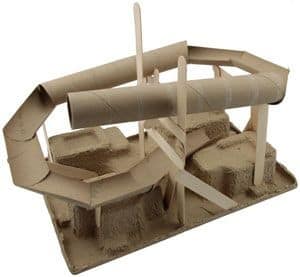
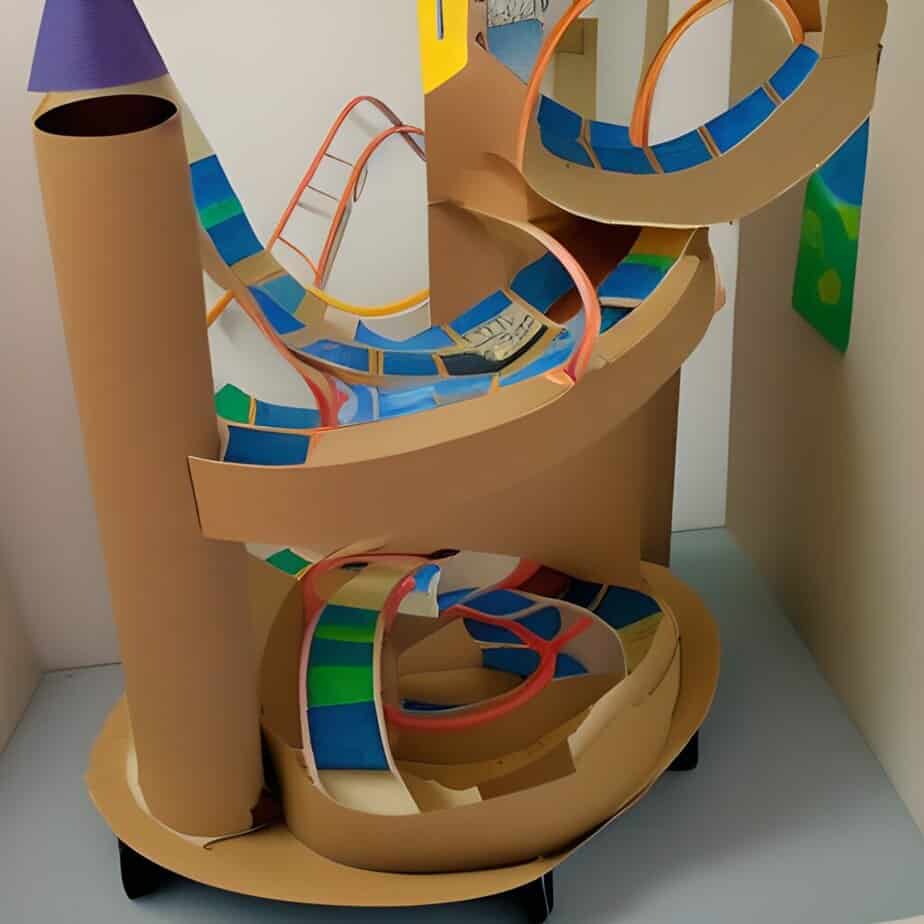
This project is perfect for kids who love amusement parks! They’ll have fun designing their own roller coaster and testing it out. This will help them learn more about the engineering design process and a deeper understanding of concepts with its hands-on engagement.
You’ll need:
- cardboard (and toilet paper rolls, if you want)
- tape
- 1 marble
Instructions:
- Cut the cardboard into strips. Make sure that the strips are wide enough to fit the marble.
- Bend the strips of cardboard into curves and hills. Be sure to leave some straight sections for the marble to travel on.
- Test out your roller coaster by rolling the marble down the track.
You can make this as elaborate or as simple as you want.
Science Lesson:
Roller coasters use the laws of physics to operate. The marble stays on the track because of gravity and friction. Gravity is the force that pulls objects towards the center of the Earth. Friction is the force that opposes motion. It is created when two surfaces rub against each other.
Extend the activity: Try experimenting with different tracks, such as adding loops or jumps. You can also experiment with different objects, such as marbles of different sizes or balls. Or try using paper plates cut up!
Grow Seeds In A Cup
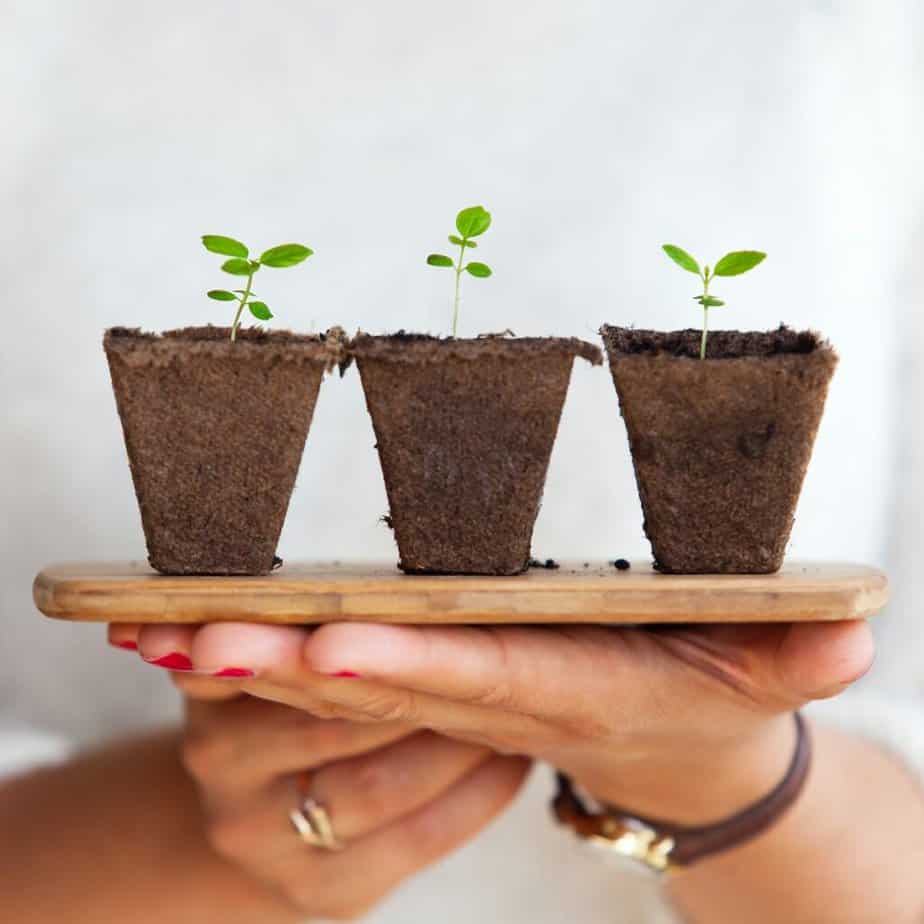
This is a great project for kids who are interested in gardening or botany. They’ll learn about the process of seed germination and get to see it firsthand!
You’ll need:
- 1 cup
- potting soil
- seeds
Instructions:
- Fill the cup with potting soil. Plant the seeds in the soil, making sure to follow the instructions on the seed packet.
- Water the seeds and place the cup in a sunny spot.
- Watch the seeds grow!
Science Lesson:
Seeds are tiny plants that have everything they need to grow into a new plant. The process of seed germination is when a seed starts to grow.
Extend the activity: Try growing different kinds of seeds. You can also experiment with different soil types or planting methods.
Observe The Moon Phases

Over the course of a month, track the changing shape of the moon with this project. You’ll need a telescope or binoculars to get a good view. Make a sketch of the moon each night and see how it goes from new to full and back again.
You’ll need:
- telescope or binoculars
- paper
- pencil
Instructions:
- Observe the moon each night, using the telescope or binoculars.
- Make a sketch of what you see and label it with the date and time.
- Track the changes over the course of a month and see how the moon goes from new to full and back again.
Science Lesson:
The moon orbits around the Earth, and we see different phases of the moon depending on where it is in its orbit. The moon cycles through eight phases, from new moon to full moon and back again. This means that the moon is visible in the sky for about two weeks out of every month.
Extend the activity: Try observing the moon at different times of the day or month. You can also try observing other objects in the night sky, such as stars or planets.
Make A Pinhole Camera
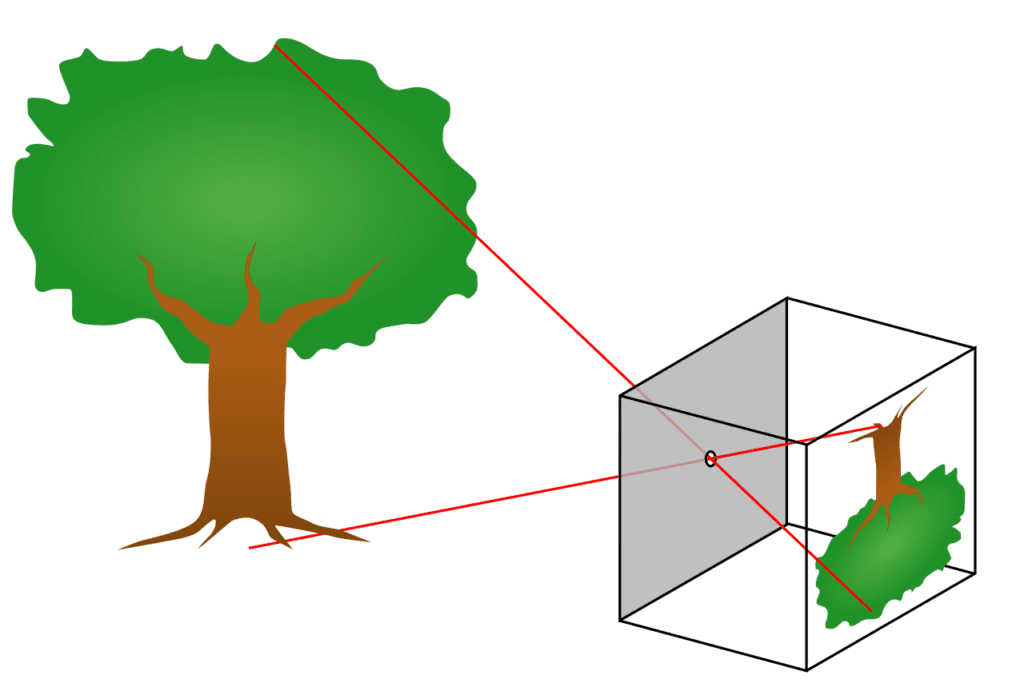
With this project, you can make your own camera out of a few simple materials. All you need is a cardboard box, some aluminum foil, and a piece of black construction paper. Once you’ve put it all together, point your camera at the sun and watch the image appear on the paper!
You’ll need:
- cardboard box
- aluminum foil
- black construction paper
- tape
- scissors
Instructions:
- Cut a small square out of one side of the cardboard box.
- Cover the square with aluminum foil, and tape it in place.
- Cut a small hole in the center of the aluminum foil.
- On the opposite side of the box, tape the black construction paper to the inside.
- Point the box towards the sun, and look through the hole in the aluminum foil.
- You should see an image of the sun projected onto the black construction paper.
Science Lesson:
A pinhole camera is a camera that doesn’t have a lens. Light passes through a small hole in the camera and projects an image onto the opposite side. This image is inverted, meaning that it looks flipped upside down.
Extend the activity: Try experimenting with different size holes or different distances between the hole and the paper. You can also try projecting images of other objects, such as trees or buildings.
12 EASY Project-Based Learning Ideas For Middle School Science
These 13 project-based learning ideas are a great way to engage kids in science, especially if it’s an area that needs a little pick-me-up. But these is just a starting point – there are endless possibilities for hands-on learning. So get out there and start exploring with your kiddos! And don’t forget to make your own project-based learning lesson plans out of these projects with the Science Lessons and Extension Activities provided!
LOVE THIS? PIN IT TO SAVE FOR LATER! ⬇️
- How To Raise Godly Children When You’re Outnumbered - October 30, 2025
- Free Printable Emotion Flash Cards Printable For Kids - November 9, 2024
- 20 Short Bible Verses For Kids To Memorize - November 7, 2024