Disclaimer: I received a FREE copy of this product through the HOMESCHOOL REVIEW CREW in exchange for my honest review. I was not required to write a positive review nor was I compensated in any other way.
If you’ve never heard of fermenting before then I’m honored to introduce you to the subject! Actually, I’ve never heard of it before either until I was asked to review the fermenting tools by Fermentools in exchange for writing an honest review about it.
Fermentools offers a Starter Kit to help people (like me!) to begin fermenting with all the necessary tools to do so. I was impressed with the mechanics of it as well as the benefits of it. And even though I had no clue how to ferment, the Starter Kit lead me the way. I sure did learn a lot!
Apparently it’s been around for ages. Where have I been all this time?
Quick Navigation
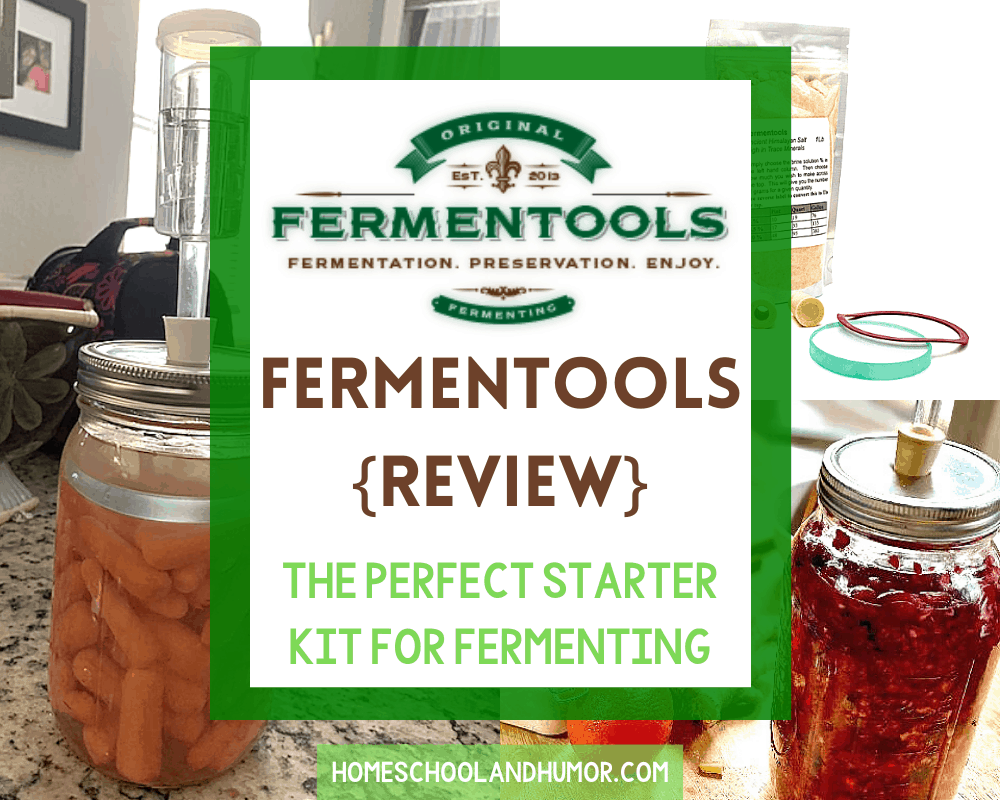
About Fermentools
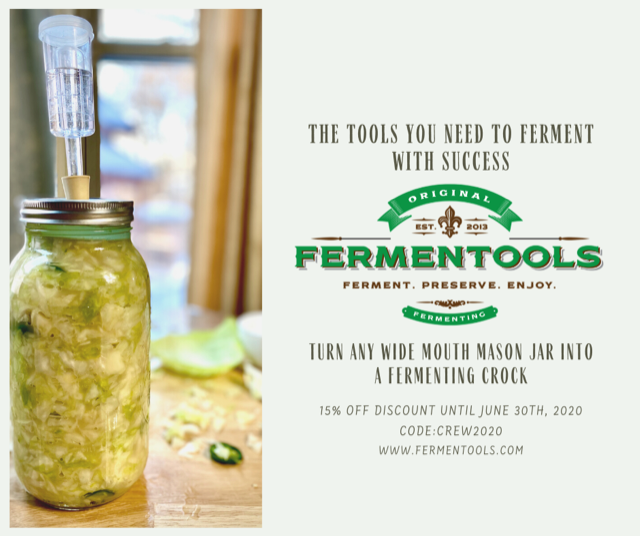
Fermentools began their journey into the business world in 2013, introducing their very cool custom airlock contraption for the fermenting process! This family-owned company created this airlock system to seal out oxygen while releasing carbon dioxide in order for good bacteria to grow.
You want this to happen so that the foods will be properly fermented to include probiotics in them – and we all know nowadays how important and healthy it is to include probiotics in your diet.
The airlock system fits perfectly with any size wide-mouth mason jar. Although the jars do not come with the kit, most local stores near you should have mason jars of various sizes. As long as they’re wide-mouth, they’ll fit with Fermentools custom airlock system.
Starter Kit for Fermenting
The Starter Kit offers an impressive array of fermenting items. When I first looked at this stuff, I was so intrigued. Remember, I’d never even heard of fermenting until this project! So when I saw all the goodies, I got excited. Yet, I was also intimidated.
How was I suppose to put all of this together if I don’t even know much about the process? Fortunately, there’s a booklet that comes with your Kit that tells you exactly what’s included as well as how to use each item. Plus, it also comes with an example recipe of sauerkraut for you to try out and follow for your first time using the kit if you want to. Of course, it’s not mandatory to use that recipe.
I like sauerkraut but my kids don’t. So I just went on Fermentools Blog to see some ideas. They have loads of ideas! And if you google search recipes, you’ll find that a lot more people in the world knows about fermenting (I guess I’m one of the ‘special’ few that lives under a rock) and loves to share their recipes. Once I found one, I inventoried my Kit once again.

Glass Weight 
Side View with Weight 
Rubber stopper with hole 
airlock
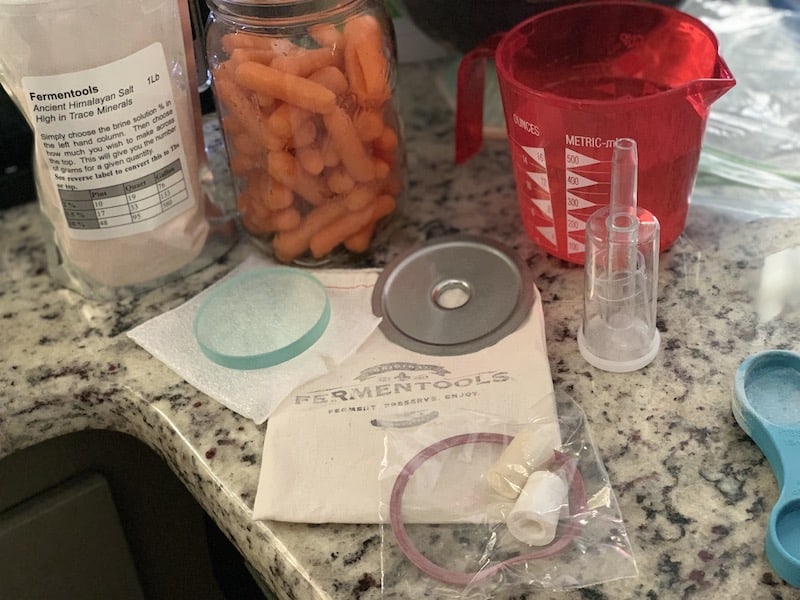
Here’s what comes in your Starter Kit:
What’s special about this particular kit is that they include a big bag of Himalayan Powdered Salt specifically made to dissolve nicely in cold water.
- 1 stainless steel lid
- 1 airlock
- Himalayan Powdered Salt
- 1 glass fermentation weight
- 1 rubber canning gasket
- 2 rubber stoppers
- Instructional Guide
How I Used the Starter Kit
I chose to ferment carrots. It’s simple, quick but I really chose it because I don’t think you can really mess up carrots! So my margin of error was limited.
I put them in my 32 oz. wide-mouthed mason jar that I got from Wal-Mart. I left about 1.5 inches of room above the carrots. Meaning, I didn’t fill the jar all the way up with carrots; I stopped about 1.5 inches below the “shoulders” of the jar (the rounded part near the top).
Then, I got 2 cups of distilled water and left the water in the measuring cup for now. The Himalayan salt bag as instructions on the front and the back to follow. The amount of salt you put in all depends on the amount of food you put it in and the size of your jar, which means more water. So I followed the instructions on the bag to figure out how much salt to add to the water.

Front of Himalayan Powdered Salt bag 
Back of Himalayan Powdered Salt bag
I used a Quart-sized mason jar. I used 2% which, according to the front of the bag, equals 19 grams. I flipped the bag over to the back and it says that 19 grams is equal to about 1 tablespoon plus 1.5 teaspoon of salt. So I put 1 TBS + 1 1/2 tsp of salt into the measuring cup of water and stirred it. The salt dissolved pretty quickly, which is what it was designed to do.
I then poured the salt water into the mason jar on top of the carrots. I left about an inch of air on top, which was past the shoulders. I put the glass weight inside the jar, which pushed the carrots beneath the water and prevented them from floating to the top.
If the veggies don’t have something weighing them down, like the glass weight, and they stay exposed to the air, then mold will grow on your veggies. The bad kind – yuck. So make sure they stay under the water by something weighted.
If you don’t use something weighted, I read that you have to “burp” it everything – open the lid and let the gases out daily to stop mold from growing on the veggies. Could be true, maybe not, I haven’t done this nor experienced this myself but I read it in a few different articles and that was a common reference in all of them.
Next, I put the rubber gasket on the top of the jar mouth. I put the stainless steel lid with a hole in it on top of the rubber gasket. And I used the mason jar’s original top tightener to tighten the top holed lid. Then I got the rubber stopper with the hole in it and plugged in into the hole on the lid.
I got my airlock, took the white top off to fill it halfway with water, according to the instructions guide that came with the Starter Kit, and put the the white top back on. Then I pushed the bottom of the airlock into the hole of the rubber stopper.

And voila!

Fermenting With Fermentools {Review}
I enjoyed the process of fermenting, along with the everything I learned when I researched recipes. Fermenting foods has many health benefits for your body and your gut, so if you need to feel “refreshened” then I recommend this Starter Kit. And if you’re a newbie fermenter, like me, then this Starter Kit is perfect.
Fermentools is giving my readers a 15 % discount coupon valid from now until June 30th. The coupon code is: Crew2020
Many other families with the Homeschool Review Crew also used the Starter Kit with Fermentools, so I encourage you to read their reviews. Some of the reviewers were already experts in fermentation and was extremely helpful in giving newbies a lot of tips and encouragement. Without a doubt, you’ll enjoy reading their experience with the Starter Kit, plus all the different kinds of foods that the reviewers selected to ferment. You’ll have a ton of new fermenting recipes just by clicking on the banner or going to the Homeschool Review Crew blog.

Happy Fermenting!

- 55 Inspiring Mindfulness Quotes For Kids Every Mom Should Know - May 7, 2024
- 111 Best All-Time Middle School Movies List (In Categories!) - April 26, 2024
- Top 16 Indoor Games for Teens That Won’t Turn Your House into a War Zone - January 29, 2024