
Disclaimer: For your convenience, there may be affiliate links throughout this post. See my disclosure policy here.
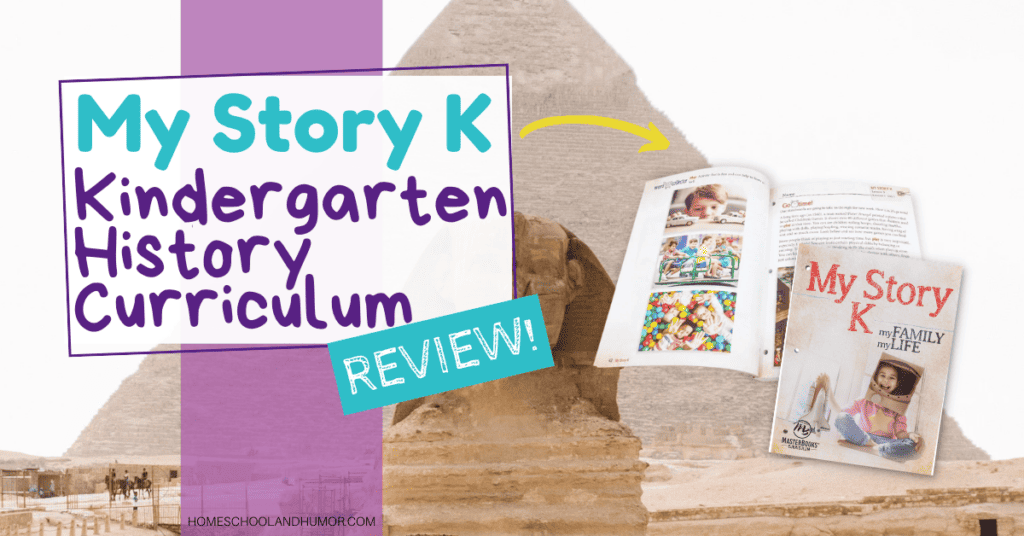
Wouldn’t it be great to have a structured reading program that is specially designed for children with various learning disorders? You can with the PRIDE Reading Program as it uses an Orton Gillingham approach throughout its program in order to strengthen the learning deficits of children. We are using the PRIDE Orange Book Program Kit – Level 2 from PRIDE Reading Program to provide structured literacy in our homeschool.
Quick Navigation
About The PRIDE Reading Program
In order to place your child or get the right level kit, PRIDE Reading Program has a placement assessment for your child to take. The test helps identify learning gaps in your child’s education, and then properly places them in the correct level.
Once you order your kit, there is about a 3-hour teacher training online that you must go through in order to teach the PRIDE Reading Program via the Orton Gillingham method. For me, personally, it took me about an hour and a half, in one sitting, and I watched all of the videos and read through each module.
I was never a certified educational teacher, so to go through the training course and learn how and why we would teach a method a certain way opened my eyes to more of the psychology of the learning gaps of the children. For instance, I know that my son has a wonderful grasp on words as a whole as well as a solid understanding of the phonics of the words, but for some reason putting them together felt tricky to him.
By learning how to teach an Orton Gillingham through the online training program, I am now qualified to teach the PRIDE Reading Program in any circumstance. The training helped empower me with the confidence to guide my child through the steps within each lesson. Rather than facing a step with uncertainty on how to deliver how to teach it, the training module is there for me to go back and ensure I knew how to properly deliver each step within each lesson.

After finishing the training, you will find that the entire teacher’s guide is online while the physical items are mailed to you. Simply login into the online portal and access the program; this is where you will find the teacher’s guide where all the lessons are broken down for you:
1. Intro Lesson
2. Practice Lesson
3. Reinforcement Lesson
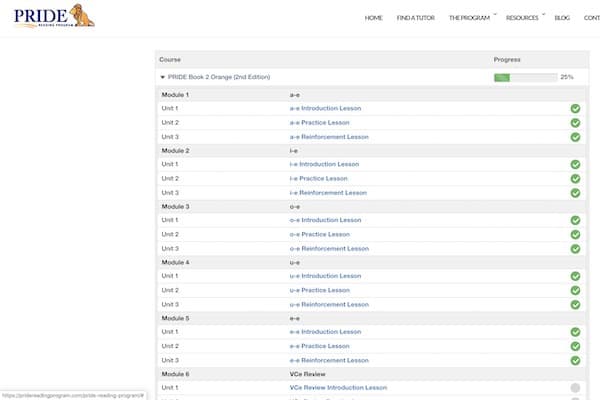
Each lesson is about 30 minutes long and it is recommended to do it at least 4 days a week.
You will also receive materials mailed to you. For the Level 2 Kit (Orange) our materials included:
- Student Workbook
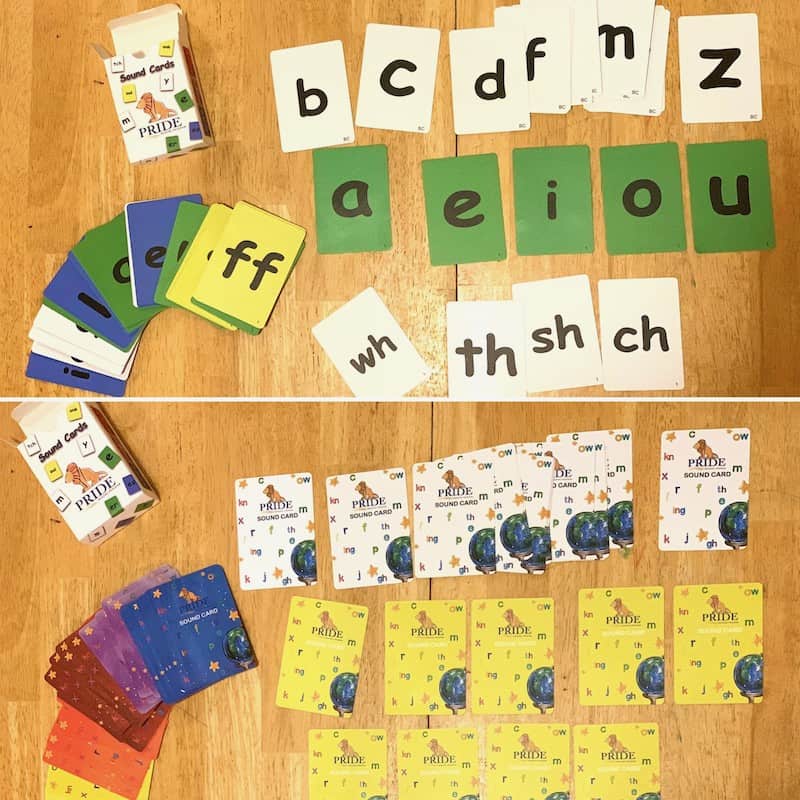
- Letter Tiles
- Sound Cards
- Whiteboard
- 2 dry-erase markers (one black, one red)
- dry-eraser
- dice
- pen
- empty sound card box
- small pouch (to carry the dry-erase markers, dice, pen, and eraser in)
- Carrying pouch
- Tote bag
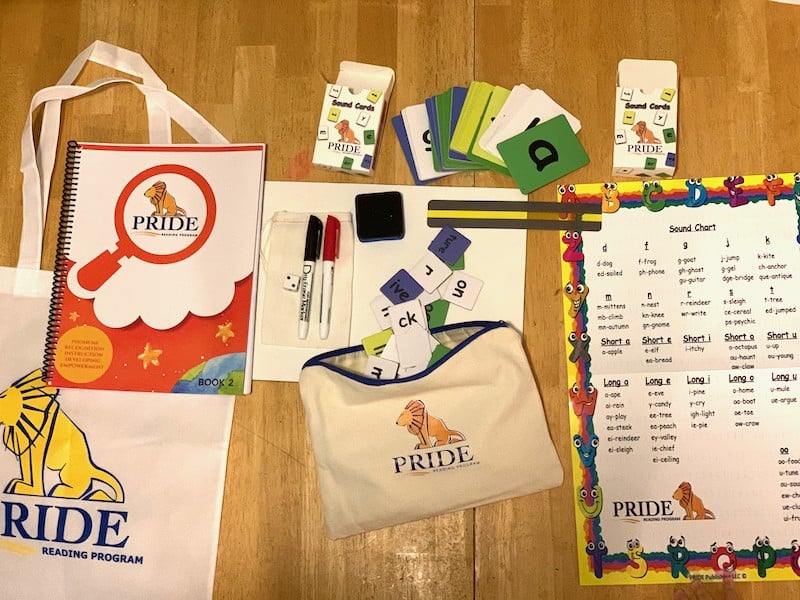
One thing I will note is the sound cards: not only are they color-coded but they also tell you the ‘type’ of card each one is on the bottom-right of every card. These cards are of good, sturdy quality. When I opened them up for the very first lesson, it already had the first lesson’s cards ready to go in the front.
How We Use Pride Reading Program
When we began using the program, I was a little apprehensive about the repetitive nature of the steps. Even though the program is highly effective for students with learning disabilities, my son tends to get a glazed look in his eyes when his interest in something is waning, whether it be school-related or any other subject matter.
At first, he was going through the sound cards and they seemed a little too easy. But then I realized that the more we followed the steps, I could see his phoneme gears turning! For him to be able to see how the words change and sound them out in each lesson really helped with his reading and spelling.
We decided to use the program 3 to 4 days a week. We either pull it out after lunchtime while my toddler naps or we pull it out after dinner time when my toddler goes to bed! It is extremely important for us to teach the PRIDE Reading Program in a place with very little distractions and interruptions.
There were a couple of times where my toddler was still running around, and although he had his own flashcards to play with, he still demanded a lot of attention from us. And since he just entered the wonderful age of 2, he is terrrrrr-ific! 😉 So, yes – it’s vital to have a quiet space to do the program, where one-on-one individual attention can be given to the student.
The program is one where you do not teach multiple children unless they have their own student workbook and are all on the same level. Personally, we did not order more than one student workbook, so we do not have experience with teaching the program to a small group setting or more than one student at a time.
And because the teacher’s guide is online, it is also crucial to have a proper internet connection on a laptop or desktop computer. The teacher’s guide is only accessible online; these are not downloadable printable sheets per lesson. However, you might be able to get around that by either copy/paste each lesson into a word doc to have offline, or to export the page into a PDF to, again, have offline. We didn’t do this, but I can see where a situation may call for offline access.
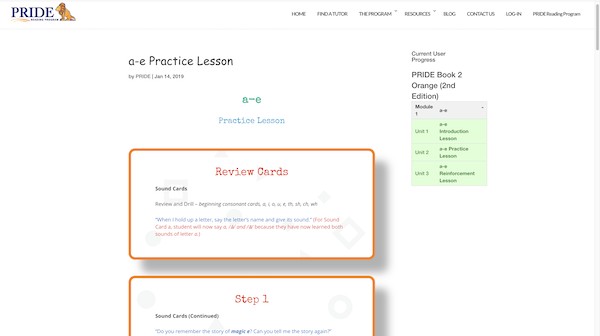
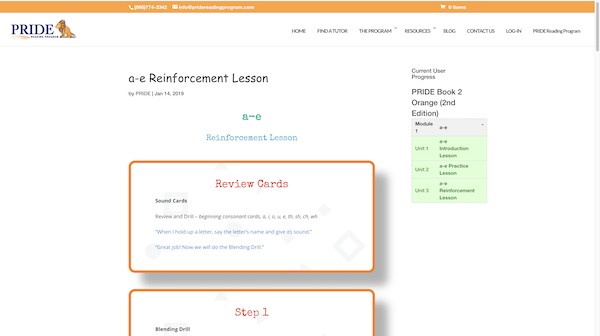
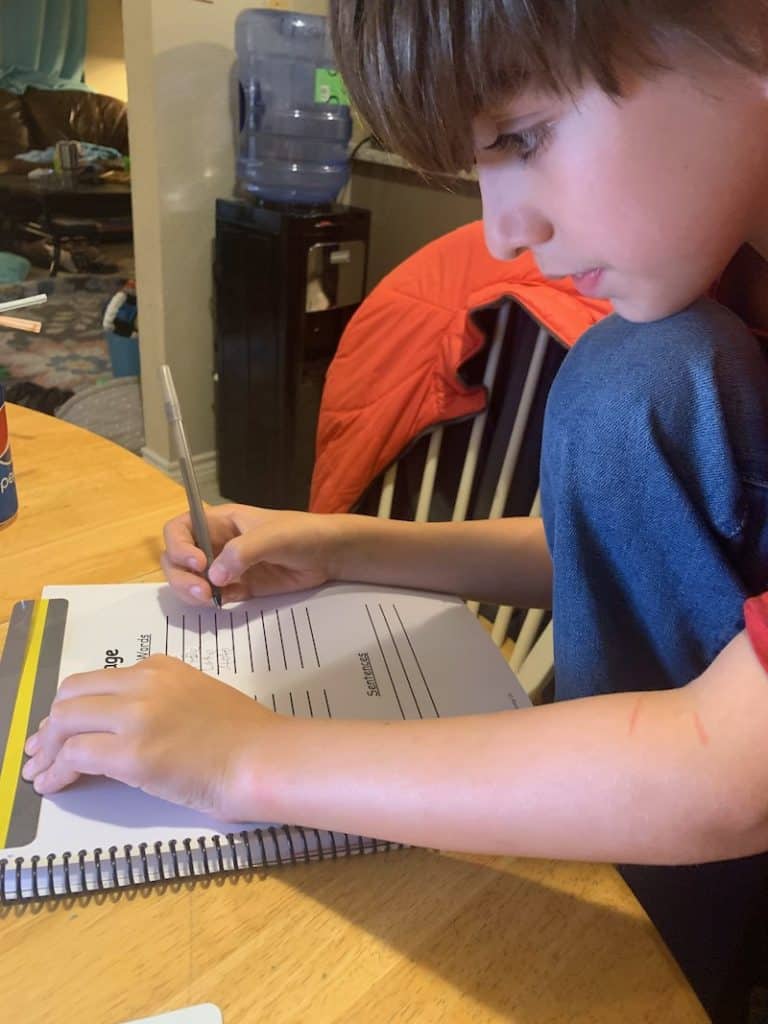
Due to the nature of the program, the PRIDE Reading Program is very teacher-intensive. Throughout every lesson are multiple steps, and each step is scripted for the teacher or parent to say. I love how we don’t have to come up with our own wording. The steps are not difficult to do; they’re simply the teacher telling the student to perform certain tasks.

Example of Steps
I will tell you about two example steps within the program, one we liked and one we didn’t like so much. The first one was the whiteboard. Part of the physical materials sent to you includes a whiteboard, dry-erase markers, eraser, and a pouch to carry it all in. My son loved following my prompts to write on the whiteboard. Many times he’d have to carry out the task three times in a row, but he didn’t mind because it was fun for him to write on the whiteboard.
The second example of one of the steps we did was the letter tiles. The tiles are color-coded with a real strong quality to them. Upon the back of the book is where he places the letter tiles and as he sounds out words, he’ll move the letter tiles down with them. We liked this step the least because I just wasn’t too clear about how many letters to put together, how to bring down the silent e, and where to really put the words. There are boxes on top of boxes on the back of the book, and I just wasn’t sure if we were to leave a word in the box and then find another ‘A’ to use or what exactly.
Since I was a little confused about it, I just had son bring down the vowel that says it’s name along with the silent e (or magic e) at the same time. We disregarded the blank boxes under it. And since I wasn’t too clear and which words to use, I just did about 5 of them.
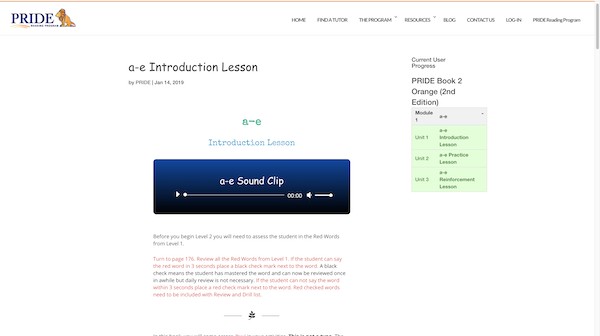
The Magic E Story
One thing that helped my son understand the magic e/silent e is the little story inside. Again, within the teacher’s guide, it’s scripted for you so you can seamlessly without fail delivery the program in it’s proper steps and method. So one of the scripts has the teacher tell a little story about the magic e, so here it is, paraphrased:
“The Magic E flies around the word and gets to the first vowel. Magic E bumps the vowel on the head and whispers, “Say your name!” and flies back to the end of the word, where he is now tired and goes to sleep. “
My son, after reading this to him and demonstrating it on the whiteboard, thought this was the coolest thing. So from there, he was pretty eager to continue the program, especially since there are multiple times within the student workbook where it helps the student understand the phonemes better.
An Overview of PRIDE Reading Program
There is literally so much to talk about with the PRIDE Reading Program that I decided to make a video for you to look over everything that we got in the mail as well as see how the online Teaching Guide works.
PRIDE Reading Program Review
Overall, we really enjoyed the PRIDE Reading Program and thoroughness it brings to ensure the proper deliverability of the Orton Gillingham method to the child. As we worked through the book, I was seeing my son grasp more and more concepts, and I really do believe a lot of that is because of the consistency of the lessons for each module: Lesson 1 (intro lesson), Lesson 2 (practice lesson), and Lesson 3 (reinforcement lesson). Each module followed this same 3-step pattern, building on what they previously learned and moving on to a new concept.
We are thankful to have had the opportunity to review this curriculum and we look forward to continuing our use of the PRIDE Reading Program!
Check out more about the PRIDE Reading Program via their social media channels:
Facebook: https://www.facebook.com/PrideReadingProgram/
Twitter: https://twitter.com/PrideReadingCo
Instagram: https://www.instagram.com/pridereadingprogram/
Pinterest: https://www.pinterest.com/pridereading/
YouTube: https://www.youtube.com/channel/UCCfQB_M2vL2Ebo8deuwwCrw
Be sure to visit the Homeschool Review Crew blog to read more reviews of PRIDE Reading Program!

- Top 16 Indoor Games for Teens That Won’t Turn Your House into a War Zone - January 29, 2024
- Free Crafty Printable Christmas Countdown Calendars For Kids - December 17, 2023
- 12+ Very Cute Printable Christmas List Template For Kids - December 14, 2023


Pingback: How To Start Homeschooling From The Very Beginning - Your First Year {A Step-By-Step Series Special} » Homeschool and Humor
Pingback: How To Craft The Perfect Homeschool Vision Statement - Lesson #2 » Homeschool and Humor
I am looking into this program for my son. He is 9, turning 10 in December. I found the placement test to be a little difficult bc he can read many more words than he can spell back to me. He has dyslexia and dysgraphia. I don’t want to hold him back on a lower level if he can read the words ok but not write them, but I also don’t want to get too far ahead. The results from the placement test was the Orange Book, level 2. I’m curious how old your son was when he completed this level?
Hi Kelly! My son was the exact same age as yours, actually – 9, going on 10. I recommend not going ahead, because it teaches him fundamentals of reading and spelling that are important building blocks. The program intertwines the level together so even if he does know how to read them (like my son did) he will learn how to spell them with the different techniques in place. Let him learn how to spell the words he already knows how to read, first, before moving on to more difficult words to read (and definitely spell). I highly recommend going with the Orange book then if that is what he was placed. If anything, you would want to go back a level and not forward a level, just to make sure that foundation is in place before moving on. Know what I mean?